Basic Fermentation Temperature Controller
Posted on May 14, 2025 • 3 min read • 608 wordsI had a beer go wrong during fermentation, so lets build a temperature controller.
I recently brewed a Mexican lager and I thought I had timed it right so that I could leverage the warmer temperatures of the incoming spring and summer but still have it cool enough that I could have semi stable temperatures for the yeast. I thought I had nailed it for the first 4 days but then we had a massive drop in the weather and the fermenter went from a stable 15°C to single figures for a week. This caused my yeast to drop out and I was not able to get fresh yeast in time as no one had the yeast I used in stock and I had also run out of cleaner so wasn’t able to clean another vessel to transfer the beer off the yeast cake. By the time I had managed to get cleaner and sanitiser, the beer already started tasting off.
This all happened as I have been lazy, when we relocated to the UK 4 years ago, I didn’t bring my fermentation chamber since I wasn’t happy with it and wanted to improve on it as I thought I could do a better job on the second one. Truth be told, I got comfortable brewing beers based on the season and temperature of my brew shed, but I have been craving a good old lager, which I have missed here in the UK.
So thats how we got here with a beer I am probably going to dump and searching various used marketplaces like Facebook and Ebay, looking for the perfect lager fridge to turn into a fermentation chamber. While I do that, I need to build a basic controller that will cool or heat as needed by the beer. Eventually, this will be part of my new brewery control panel that I am building but I need something for now.
The Parts
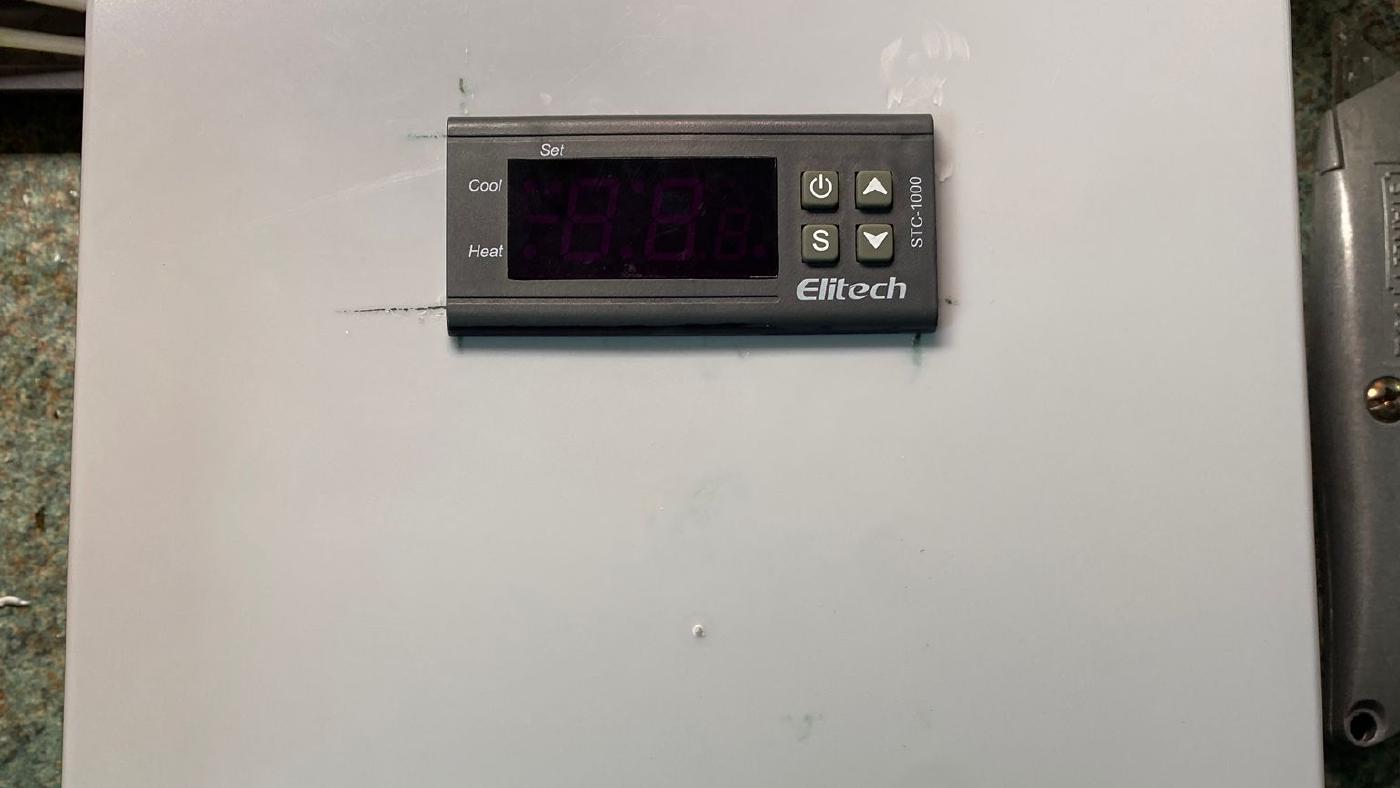
I am going to use a STC-1000 as I had one in storage that was going unused, I have included links to amazon listings for the parts I used (small disclaimer: I will get a commission from Amazon if you click on the links and purchase the item).
I had 3-core cable rated for 16Amps spare as well as some wago connectors lying around that I used to wire up the controller.
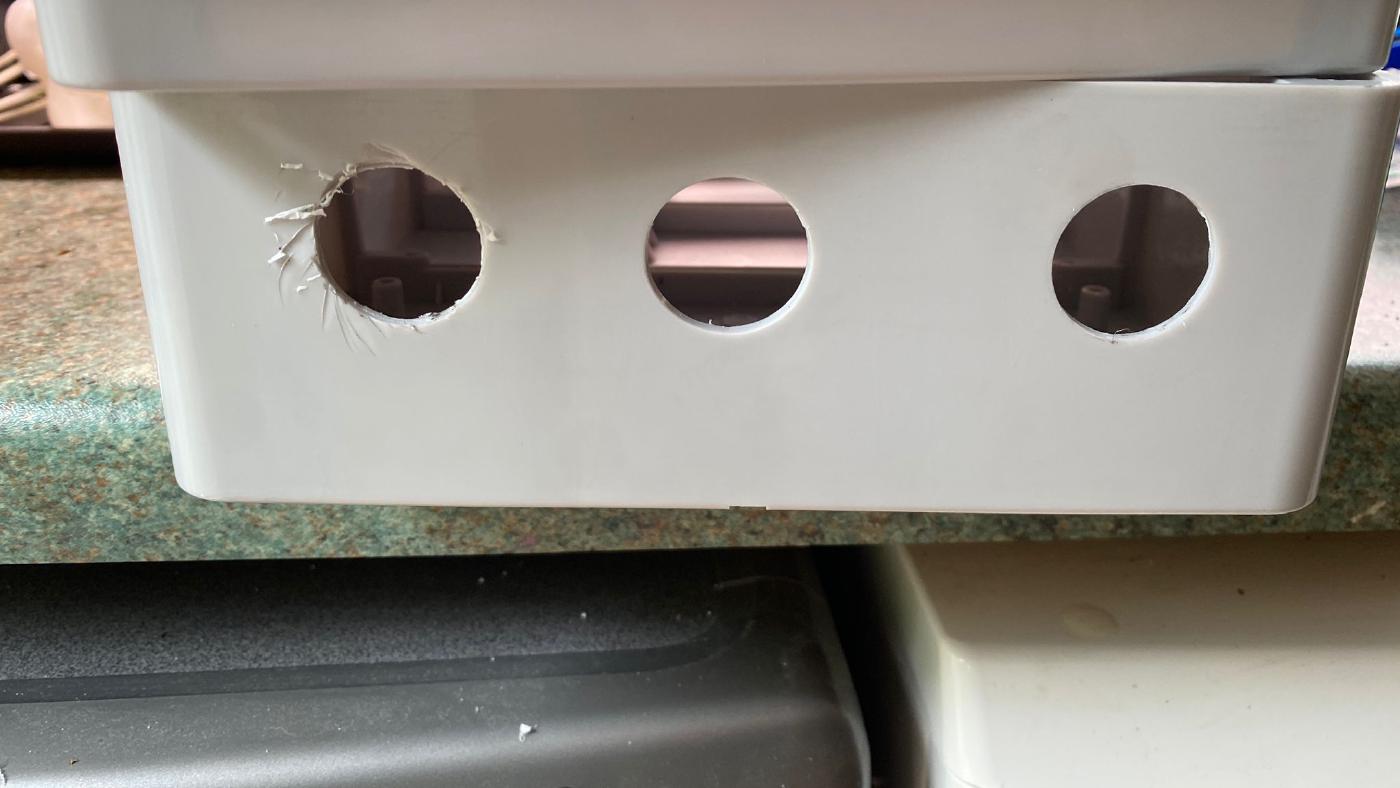
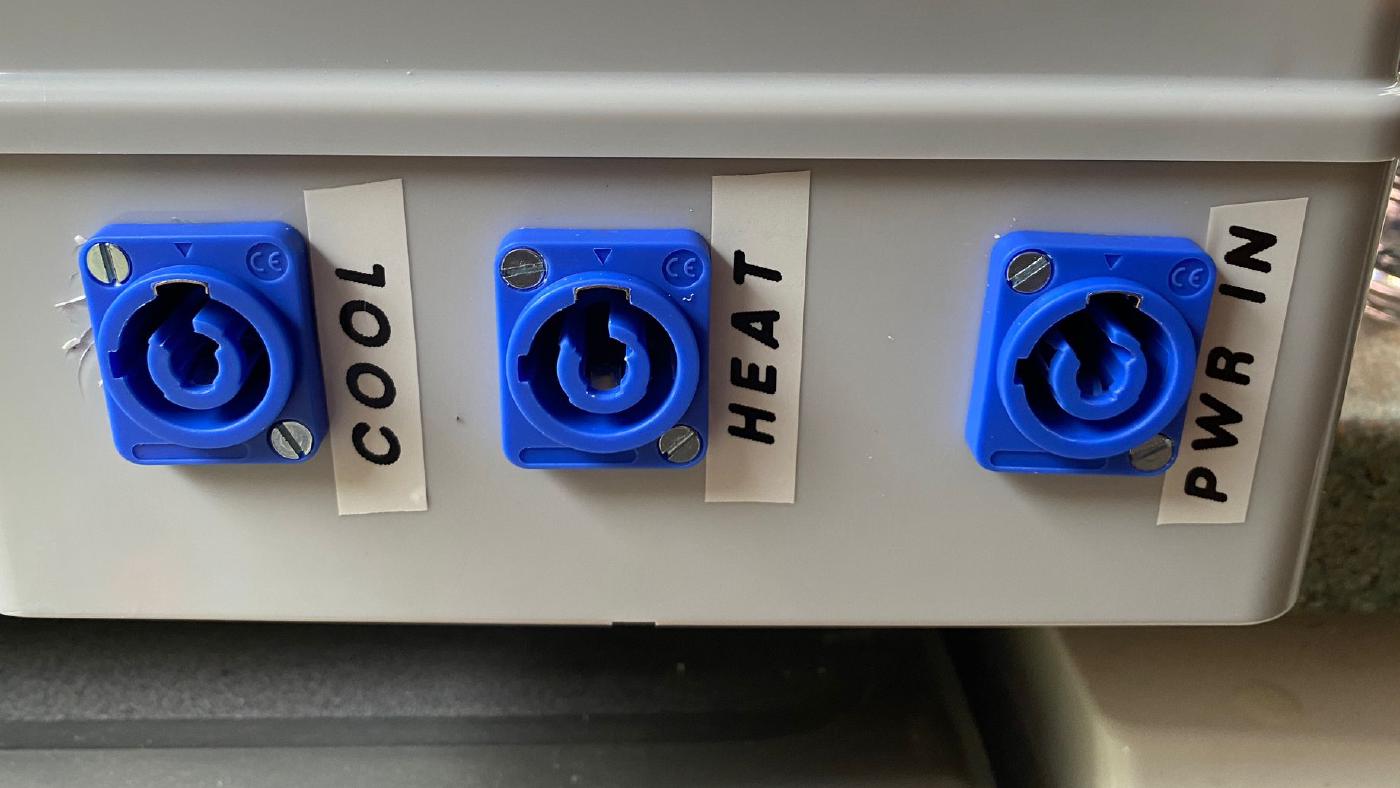
I wanted to be able to disconnect everything from the controller to be able to move it around without having a large fridge and heater wired into it, which is why I have used connectors. So I bought 2-pin aviation connectors for the Sensor wire, and 3-pole panel mounted Edison conectors for the 240V/16A power supply to the panel and then out to the cooling and heating functions.
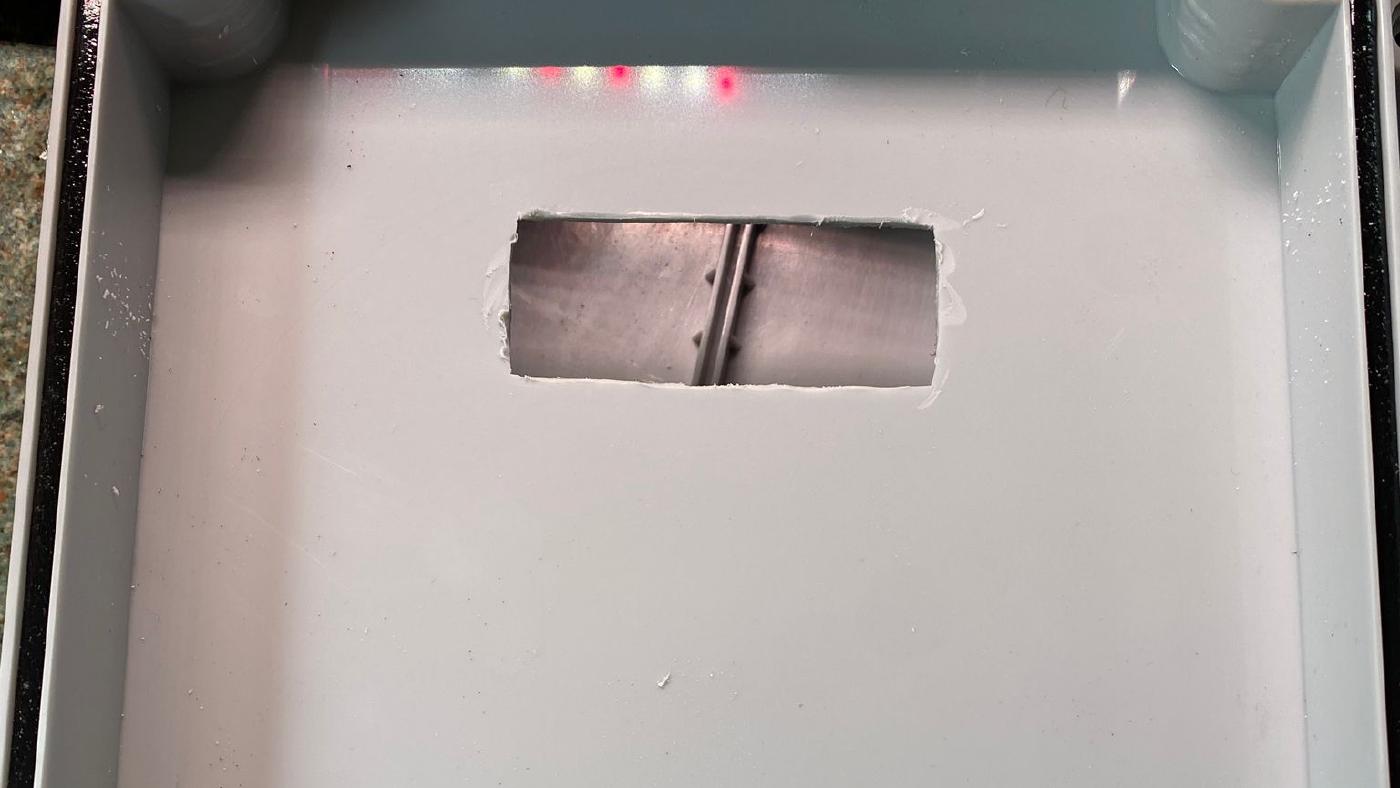
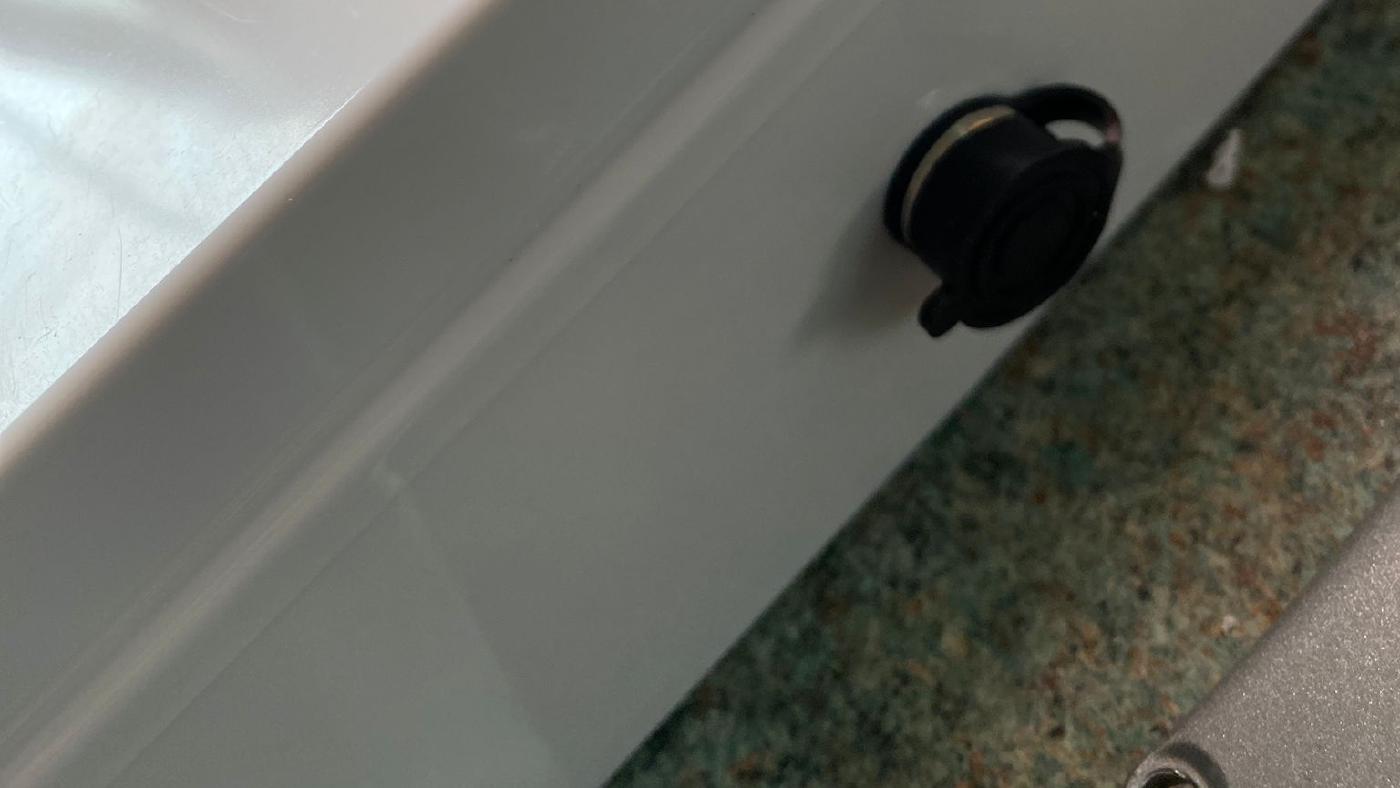
You can see from the pictures, I pulled the individual cores out of the 3-core cable to make it easier to wire it all up, and I used some single core project wire I have that is more than ample to carry the small signal current from the probe, to wire up the sensor aviation plug to the STC-1000.
Alternatives to DIY
If you don’t want to DIY this, and would prefer a plug and play option, then I would recommend getting an Inkbird controller, then you only need to source your cooling and heating options, most likely a fridge for the chamber and cooling and then a tubelar heater.
You can also get them at The Malt Miller: